Contents
Probably one of the best ways that you can enjoy a great-tasting coffee is by learning how to roast your own coffee. Although you can always head to your local coffee roaster or café and find the type of coffee, when you’re personally roast your coffee at home, you’re guaranteeing that every cup of joe you make will be fresh and features deep flavors.
And with enough practice, you can make sure that it is roasted exactly to your taste buds. So, are you ready to learn how to roast your own coffee? Well, let’s dive in!
But first…
Read More:
- Best Ground Coffees: All You Need To Know
- Best Coffee For Cold Brew
- Best Coffee On Amazon
- Best Bizzy Organic Coffee
- Best K Cup Coffees
- Best Coffee Liqueur
- Best Kona Coffees
- Best Dominican Coffees In 2023
- Best Cuban Coffees
- Best Dunkin Donuts Coffees
Why Coffee Beans Are Roasted?
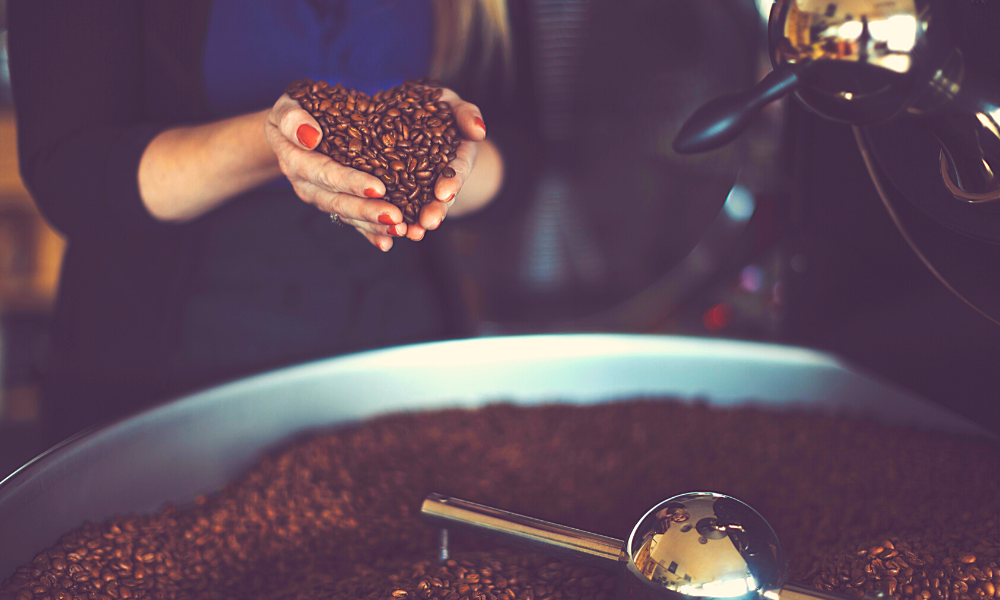

Coffee is actually a small red fruit, subjected to different stages before reaching your cup every morning.
First off, coffee is processed in order to remove its outer skin, the inner parchment skin, and the pulp. After that, the seed or more commonly known to be the coffee bean is dried.
Once it is dried, it becomes the green coffee bean, shipped around the world for roasting.
Coffee Roasting: What Happens?
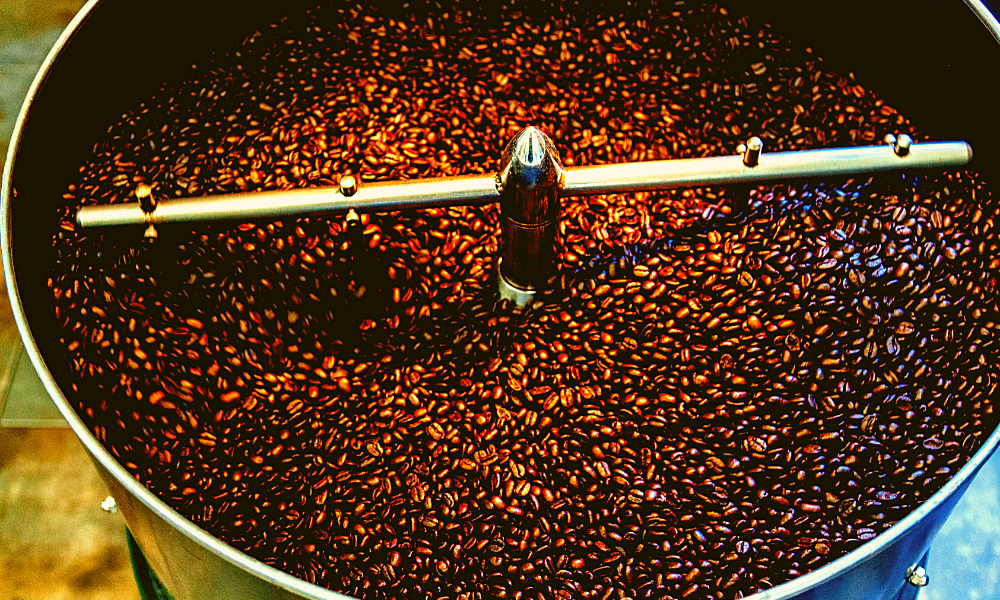
Green coffee drastically changes during the roasting process. When roasting coffee, the moisture is forced out of the bean and causing it to expand and dry. During the process, some of the natural sugars in the beans are converted into CO2 gas and the others are caramelized forming some complex flavors in the coffee.
When this process is complete, the green bean becomes a brown bean that’s about 50 – 100 percent larger and 18 percent lighter, depending on the roast type.
Let’s take a quick look at the whole roasting process:
1) Temperature
The coffee beans are subjected to a temperature between 350 and 500 degrees Fahrenheit. This will vary depending on the method being used.
2) Agitation
Once subjected to heat, the coffee beans should never rest and roast. A c constant stirring makes sure that heat is evenly distributed and thus provides an even roast.
3) First Crack
After 3 – 5 minutes of roasting, the coffee beans will produce the audible crack. This crack means that the coffee beans are lightly roasted and suitable for white coffee. If you want the darker roasts, you will have to continue agitating.
4) Second crack
After a few more minutes, you will hear another crack which means that you have a medium roast. If you agitate the coffee beans for a few more minutes, it will become unusable and burnt.
5) Cool Down
The coffee beans are transferred to a metal colander or a baking paper to cool down. Two metal colanders are often used where the roasted beans are shaken and transferred in between. This helps the coffee beans cool quickly and removing the chaff.
6) Remove Chaff
The chaff is the dried husk of the coffee. It’s very messy so consider cooling the coffee beans down outside or in a sink in order to help reduce cleanup.
Note: As soon as the roasting process is complete, the coffee beans start to degas. In a week or two, your roasted coffee bean will start to lose some of its aromas and flavors.
Types of Coffee Roast
Before you learn how to roast your own coffee at home, first you need to have a better understanding of the different roast levels.
Light Roasts
Also known as half city, light city, or cinnamon roast, the light roasts are roasted with an internal temperature between 356 and 401 degrees Fahrenheit. The light roasts offer brighter brews with a light body and higher acidity levels.
Also, this kind of roast is the safest level of roasting you can do at home since it requires lower temperatures and less roasting. Read Here: Top 10 Best Whole Coffee Beans
Medium Roasting
For medium roasts, you are looking at 410 – 428 degrees Fahrenheit window. The coffee beans will still have a relatively dry surface; however, they are more clearly distinguishable that the original green sees.
The medium roasts are the most popular roast level offering mid-level acidity and a fuller body. Read Here: Top 10 Best Medium Roast Coffees
Dark Roasts
Lastly, we have the dark roasts with fancy names such as Espresso roasts, Italian roasts, and French roasts. The coffee beans are roasted around 464 – 482 degrees Fahrenheit.
The coffee beans will have an oily surface with the least acidity levels. Anything beyond this point is in potential fire and burnt territory. In short, useless. Read Here: Top 10 Best Espresso Coffee Beans
Read More:
- Best Ground Coffees: All You Need To Know
- Best Coffee For Cold Brew
- Best Coffee On Amazon
- Best Bizzy Organic Coffee
- Best K Cup Coffees
- Best Coffee Liqueur
- Best Kona Coffees
- Best Dominican Coffees In 2023
- Best Cuban Coffees
- Best Dunkin Donuts Coffees
How To Roast Your Own Coffee At Home in 3 Steps
So, without further ado, here are the steps on how to roast your own coffee at home!

Step 1: Get Green Beans
First off, you will need green beans. Technically speaking, you need the seeds.
When dried, these seeds are several shades lighter. And once roasted, the coffee beans are transformed into the inviting and beautiful shades of brown that we are used to seeing.
Now, great coffee is all about consistency. Thus, you need to choose beans that are uniform in color and size. This promises an even and consistent flavor and roast. Getting these 2 elements correct— size and color— is crucial to avoid producing coffee with an unfavorable and inconsistent flavor.
Step 2: Roasting
Now, this is where the magic happens. So, how to roast your own coffee? You can choose from one of the following four methods and follow our guide to producing the most delicious and freshest beans that you have ever tasted.
#1 Method: Pan or Grill Roasting
Everyone has a grill or pan lying around. Thus, this is the most common method in the home coffee roasting community. There are several how-to videos on YouTube, but you need to be wary since most DIY roasters overcook their beans with this method. Also, take note that coated, or the non-stick pan can negatively impact the flavor of your coffee.
So, how to roast your own coffee on a pan or a grill?
Tools:
- Wooden spoon
- Oven mitts
- 2x metal colander
- Grill or hot plate
- Cast iron / uncoated / steel thick pan
Instructions:
- Roasting coffee on pan and grill will be very smoke. Thus, you must first open the windows and turn on the exhaust fan. Or you can just grill outside.
- Place the pan on medium heat of at least 450 degrees Fahrenheit.
- Add a shallow layer of coffee beans to the pan so you can stir it with ease.
- Remember our tip from above? Never let the beans rest so make sure to keep stirring.
- Listen for the first crack after 4 – 5 minutes if you want a light roast. IF want medium roast, then wait for the second crack after 6 – 7 minutes.
- Dump The beans into the colander, shaking and stirring to cool down.
- Let it sit for up to 12 hours.
Note:
If you want a French roast coffee, then this is not the roasting method for you.
#2 Method: Oven Roasting
Another common DIY coffee roasting method involves the use of an oven. Be warned, however, that like pan or grill roasting, it can get smoky.
Now, if your oven is the type that blows a gale, then try other roasting methods. This is because the chaff will be blown around and give you a mess to clean.
Tools:
- Heatproof mitts
- 2x metal colander
- Oven
- Perforated oven tray although the regular trays also work
Instructions:
- Pre-heat the oven up to 500 degrees Fahrenheit.
- You might also want to open your windows and turn on your ventilation system since things are going to get smoky.
- Spread the green beans over the perforated trays. Don’t stack them and do a single layer only.
Note:
Perforated trays produce the best results, just make sure that it won’t allow the beans to slip between the holes when they expand. If you only have a regular oven tray, you can just place a sheet of baking paper under the coffee beans.
- Place the tray on the middle shelf. This is the perfect spot that provides the most consistent temperature.
- Listen for the first crack after 4 – 5 minutes if you want a light roast. If want medium roast, then wait for the second crack after 6 – 7 minutes.
- Dump the beans into the colander, shaking and stirring to cool down.
- Let it sit for up to 12 hours.
#3 Method: Popcorn Machine Roasting
Popcorn machines are, well, for popcorns. But there are certain models, like the hot-air popcorn popper, that is also suitable for roasting coffee beans.
Also, you need to use a machine with the side vented heat in order to avoid burning and ensure rotation.
Tools:
- Heatproof mitts
- 2x metal colander
- Wooden spoon
- Popcorn machine with a side vented heat
Instructions:
-
- You will also need to ventilate your home before roasting with a popcorn maker.
- Preheat that machine. This will usually take up to 30 seconds or so, depending on the model.
- Measure half a cup of coffee beans, then drop it into the machine. Make sure that the beans can rotate.
Note:
Popcorn machines will agitate the bean. If there is no agitation, then you have probably filled the machine too full. Thus, using the same bean quantity as the recommended quantity of corn kernels is a good starting point.
- Using a wooden spoon or spatula, assist the agitation.
- Catch all the chaff coming out of the machine’s spout.
- Listen for the first crack after 4 – 5 minutes if you want a light roast. IF want medium roast, then wait for the second crack after 6 – 7 minutes.
- Dump the beans into the colander, shaking and stirring to cool down.
- Let it sit for up to 12 hours.

#4 Method: Home Coffee Roasting Machine
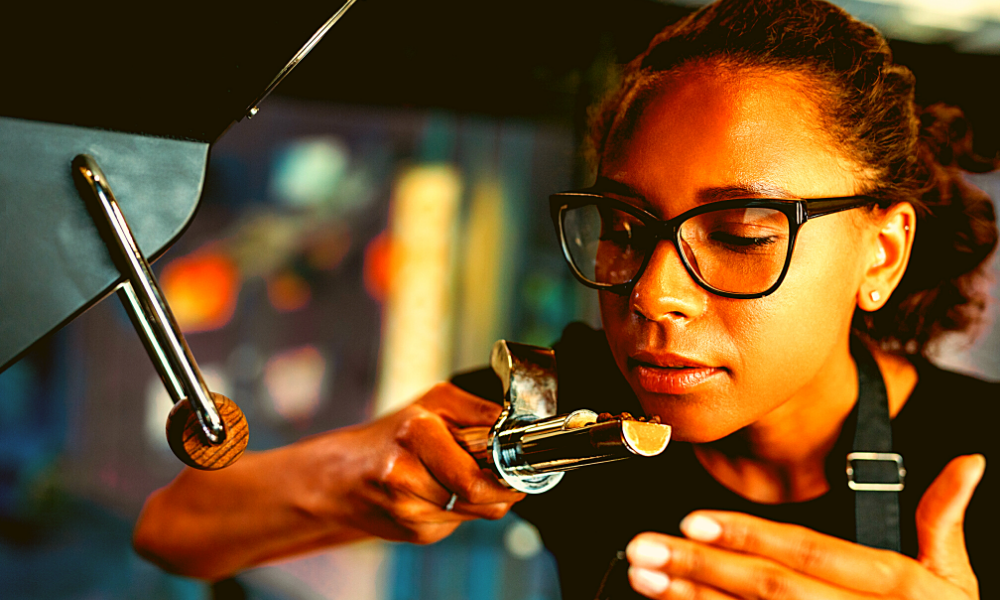
Last but not least if you are serious about roasting, then you should just buy a good home coffee roaster. There are affordable models out there and do a much better job of roasting your coffee than some of the hacks mentioned above.
In addition, a good home coffee roaster will provide more consistency, which in turn, produces great-tasting and flavorful cups of joe.
Tools:
- Heatproof mitts
- 2x metal colander
- Coffee roasting machine
Instructions:
- Like the previous methods, using a coffee roasting machine to roast your coffee will produce lots of smoking, so ventilation is a must.
- Turn the machine on.
- Add the coffee beans. You can follow the manufacturer’s instructions since machine requirements may differ.
- Make sure to monitor the entire roasting process. Most coffee roasting machines claim full automation of the whole roasting process. However, with all the variables— ambient temperature, bean type or size, machine— roasting times may still vary.
- Listen for the first crack after 4 – 5 minutes if you want a light roast. IF want medium roast, then wait for the second crack after 6 – 7 minutes.
- Dump the beans into the colander, shaking and stirring to cool down.
- Let it sit for up to 12 hours.
Step 3: Proper Storage
By now, you should already know how to roast your own coffee at home. But it does not stop there!
The last thing you need to learn is proper storage. Fortunately, there are lots of storage solutions out there that you can buy to ensure that your freshly roasted coffee beans stay fresh and flavorful.
Regardless of what you choose, make sure to find one that is airtight. Also, you need to keep it in a dark, cool space to ensure that the flavors are preserved for as long as possible.
Read More:
- Best Ground Coffees: All You Need To Know
- Best Coffee For Cold Brew
- Best Coffee On Amazon
- Best Bizzy Organic Coffee
- Best K Cup Coffees
- Best Coffee Liqueur
- Best Kona Coffees
- Best Dominican Coffees In 2023
- Best Cuban Coffees
- Best Dunkin Donuts Coffees
Final Thoughts
So, there you have it. As you can see, roasting coffee at home is a relatively easy process, that allows you to create your own unique and custom tastes in your morning cup of energizing coffee. Plus, most DIY coffee roasting uses some of the common kitchen tools you already have.
Not only will it guarantee you the tastiest and freshest beans every morning but learning how to roast your own coffee at home is also a rewarding and fun experience. Have you already tried roasting your own coffee? Share your experiences in the comment section below! And please don’t forget to share this article with your friends and family.
Happy roasting!


