Contents
The worst thing that could happen to you in the morning is if your Keurig won’t brew and you need to know what you should look for and check before you start calling customer service.
There is plenty of things that you are going to want to consider, including what you are going to want to remove and do before anything else. Keep reading on to find out a few more of the top things to know about how to troubleshoot and even fix this machine to get your morning cup of coffee. Read Here: Top 10 Best Keurig Coffee Makers
Read More:
- Best Ground Coffees: All You Need To Know
- Best Coffee For Cold Brew
- Best Coffee On Amazon
- Best Bizzy Organic Coffee
- Best K Cup Coffees
- Best Coffee Liqueur
- Best Kona Coffees
- Best Dominican Coffees In 2023
- Best Cuban Coffees
- Best Dunkin Donuts Coffees
What to Check Before Starting to Troubleshoot
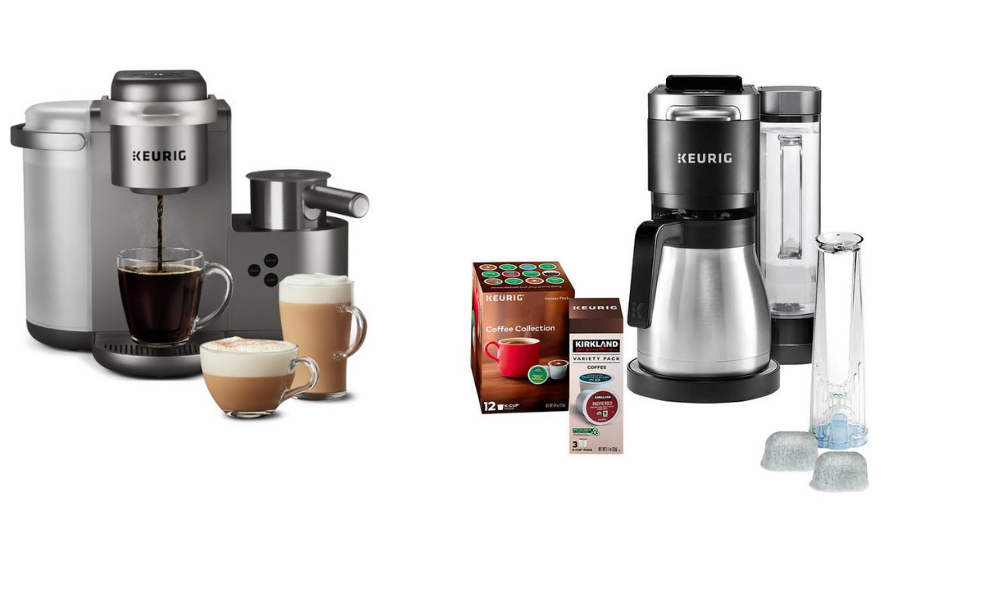
When it comes to seeing that your Keurig won’t brew there are a few things that you are going to need to check before you start troubleshooting deeper, including:
- Ensuring that the machine has been unplugged from the wall
- Detaching the water reservoir before putting it back to make sure that the magnet in the reservoir is properly in place. If the magnet is misplaced, then it can cause the machine to not be able to detect any water
- Once the water tank has been correctly replaced attempt to use just water during the first brewing cycle
Make sure that you are doing all of these steps because then the machine might start working again, but if it doesn’t, then you are going to want to read on more to find out a few more ways to try to get it working again.
If the Machine Isn’t Brewing at All
The first thing to do when it comes to your Keurig won’t brew is ensuring that the machine is plugged in and that it has power. You should make sure to avoid using distilled or reverse osmosis water, but instead, use bottled water or even filtered water after you empty the machine’s internal tank for hot water. However, this can also happen if you are using some cold water, and here are some steps to follow, including:
- Pressing down the power button and if the indicator for add water flashes blue, then you should add some water and try to start it. If the machine loses any power during the process, then it might need to be reset when the power comes back. This is as easy as lifting and lowering the handle again.
- Make sure that the water level of at least 6 ounces has been put into the reservoir for cold water.
These are just a few of the steps to do and if it still isn’t brewing your coffee, then there are other things that you can do, including calling customer service to get more support.
What to Do if Your Machine Isn’t Brewing the Right Amount
Sometimes it isn’t that your Keurig won’t brew, but that it might not be brewing the right amount. If this is the situation that you are looking at it is called a short cup, which is when the selected size isn’t produced.
There are many reasons for this, including the needle being clogged, descaling might be needed or the reservoir could be removed. Here are some steps to help you to correct this issue and some materials that you would need, such as:
- Beverage pod
- Mug
- Measuring cup
Here are the steps that you are going to want to follow after you have everything ready:
- Ensuring that the reservoir for cold water is in the proper position and remove and reseat it to make sure the alignment is right
- Do a brewing with only water on either the 6 or 8-ounce size into your measuring cup. If the amount of water you expected isn’t dispensed, then you want to go to the next step. However, if it does work, then that is all you need to do.
- If you are using a filter for water, then you are going to want to remove it and run the process only using water. If this works, then make sure that you are changing out your charcoal filter and then replacing the water filter.
- Unplug your machine
- Clean up both the entrance as well as the exit needle while being careful since they are sharp
- Do a few brews with only water and use your measuring cup so you can determine just how much water is being dispensed. If this is works, then you can enjoy your cup of coffee and if it doesn’t, then you should call the customer representatives for more assistance.
The more you know about how to try to solve the issues, then the easier it will be for you to do the troubleshooting no matter what.
Read More:
- Best Ground Coffees: All You Need To Know
- Best Coffee For Cold Brew
- Best Coffee On Amazon
- Best Bizzy Organic Coffee
- Best K Cup Coffees
- Best Coffee Liqueur
- Best Kona Coffees
- Best Dominican Coffees In 2023
- Best Cuban Coffees
- Best Dunkin Donuts Coffees
Other Methods for Trying to Get the Machine to Brew
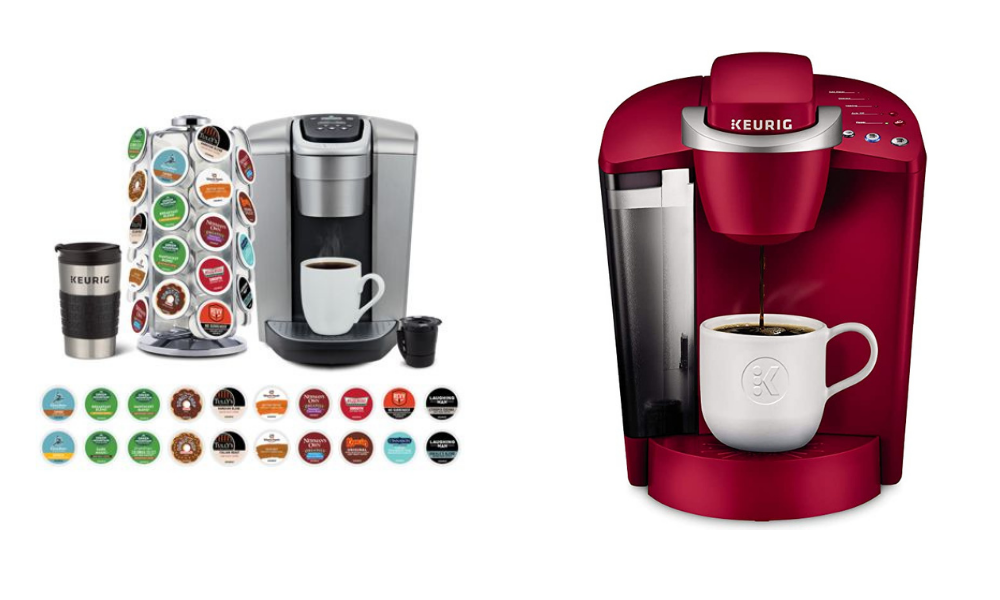
There are plenty of other methods that you can use when you are trying to get your machine to work properly. You need to know what these are, including:
- Spanking
If none of the other methods don’t work and if the machine isn’t warming up properly, then the spanking method might work. This can help all of the parts to go back in sync, which would help it to make your cup of coffee. If you want to do this, then there are some steps to follow, such as:
- Unplugging the machine from the wall and plugging it back in
- Turning the machine off and on again
- Put the reservoir for water into the proper position
- Press down the “brew” button for 2 seconds and then allow water to be dispensed from the reservoir
- Remove the drip tray and water reservoir and place the machine upside down over the sink and pour out any water that is left
- Bang or spank the machine on the bottom a few times to loosen and get rid of any coffee debris or grounds
- Put everything back where it belongs and try again
This is a good method, so make sure that you are using if you think that it might help your machine to function properly.
- Cleaning the K-Cup Pod area
Another area where it might become clogged in the K-Cup pod area and this can stop it from doing anything. You are going to want to pull the handle up in the pack holder area and then grab the machine and push up so the holder assembly is coming away from your machine.
This is going to remove not only the K-cup holder but also the base from the head and then press the release buttons on the side to separate the housing and the pack holder. Make sure to wipe everything down with a soapy, damp cloth before putting it back together again.
- Cleaning the Clogged Needle
The needle is what punctures the lid of the K-Cup and sometimes they can get clogged from the various minerals from the water or the coffee grounds. You are going to want to remove all of the filters and wash them thoroughly with warm, soapy water and then push the K-cup holder level to see the needle.
The best way to clean this is by using a straw to blow some air up into this needle. Also, you can use some vinegar and hot water that can be inserted using the same straw if needed.
- Unclogging the water reservoir
Another area where there might be some problems is at the bottom of the machine’s water reservoir, which could be clogged by a wide variety of debris. In order to fix this, you are going to need to remove the water reservoir before washing the metal mesh area thoroughly with some soap and warm water. This would help to clear up any debris that was in the water tank and you can then do a run with plain water to see if it worked.
Checking for Mechanical or Electrical Problems
If your Keurig won’t brew there might be some mechanical or even electrical problems that might occur and this is when you the symbol for “brewing” is shown, but nothing is happening. Here are a few ways to check for these types of issues, such as:
- Electrical – When you are searching for this type of issue the unit needs to be completely unplugged and then it needs to sit for a bit before you plug it back in again. This can reset the coffee maker’s circuit boards, which might solve the problem. However, if it doesn’t, then you are going to need to run a few cycles without any pods to see if the water is coming out.
If the water isn’t, then you are going to need to check the needle and have it cleaned as necessary. Also, if that doesn’t work, then consider descaling the machine to ensure that the tubes for pumping water are cleaned and unclogged.
After this has been completed, then you would need to do another cycle to see if the machine is starting to work. These are just a few things that you need to make sure that you are looking for, so make sure to do the work and then see if the machine is working properly again.
Read More:
- Best Manual Coffee Grinders
- 10 Best Automatic Pour Over Coffee Maker
- Best French Press Coffee Makers
- Best 4 Cup Coffee Makers
- Best Electric Coffee Grinders
- Making Coffee Camping: The Ultimate Guide To Camp Coffee
- Best Keurig Coffee Makers
- Best Nespresso Espresso Machines
- 10 Best Under Cabinet Coffee Makers
- 10 Best Coffee Maker with Grinder Reviews
Common Issues with Machines to Look For
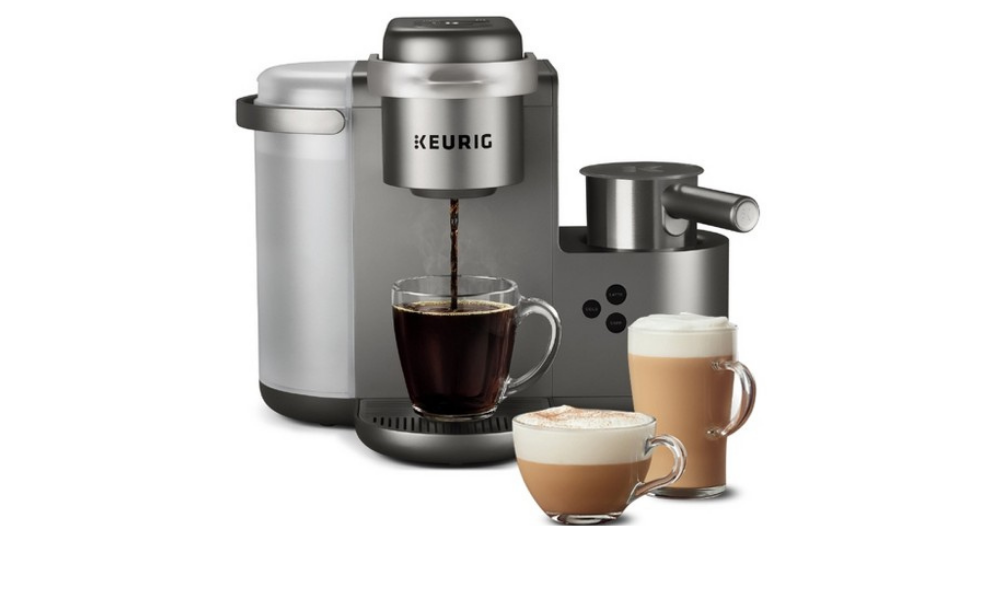
There are also a few other common issues that you might be looking at when your Keurig won’t brew and that means you need to know what they are. Some of them include:
- Water being pumped continuously
If the water is being pumped continuously, then this is a sign that there is debris in the tubing, which could be from a scale buildup. This can be fixed by following the descaling process that is detailed in the manual before letting the machine cool down. Also, remove the puncture needle and the water tank so they can be thoroughly cleaned.
- Leaking water
If you have overfilled the water tank, then it might be a problem and it can cause some leaking water. Also, this might be because you are using the non-compatible pods with the machine or even debris in the puncture needle that is clogging it. Make sure that you are emptying out the drip tray before placing a cup under the dispenser and adding the right amount of water. Go ahead and brew only some hot water since this might simply fix the leaking.
- Coffee grounds in your cup
If you are finding coffee grounds into your cup, then you need to use something other than software. You need to be using tap or bottled water with the machine and you can prevent this by running a few of the cycles without any pod in the machine.
- Air bubbles
Make sure that you have filled up the water tank completely and then turn the machine off and unplug it. Next, you need to shake the tank gently since this can get rid of any air bubbles that would be trapped and causing problems with the process.
- Turns on and off automatically
There are plenty of reasons your machine might be turning itself on and off, which might include a low water level. Another reason is that you have the auto-off timer on, so make sure that you are turning it off so that it can work.
- LCD screen shows “add water”
Make sure that if you are seeing this light that you are adding a bit more water until the max line. If the LCD screen is still showing this, then make sure that you are checking to see if it is seated properly as well as connected. If not, then go ahead and unclog the needle to see if that works
These are just a few of the most common issues and you need to know how to fix them so you can get back to enjoying your coffee. It is extremely important that you know what you should be doing when your Keurig won’t brew. There are plenty of troubleshooting options that you can try and you need to know what to try and when to try it.
These are just a few of the top issues, so make sure that you know what they are so you can be prepared to get the machine back up and running so you can enjoy your coffee again.

