Contents
- 1 OUR #1 CHOICE
- 2 Why Do You Need to Clean Your Keurig Coffee Maker?
- 3 How to Clean A Keurig Coffee Maker Using Vinegar: A Step-by-Step Guide
- 4 Step 5: Repeat the Process as Needed
- 5 Cleaning the Surface or Outside of Your Keurig Coffee Maker
- 6 How Often Should You Clean Your Keurig Coffee Maker Using Vinegar
- 7 Additional Tips for Maintaining a Keurig Coffee Maker
- 8 Conclusion
For the majority of coffee lovers, having a Keurig coffee maker is indeed a dream come true. In just a short period of time, you will have a cup of delicious coffee ready to go.
This coffee maker is specially designed to quickly brew coffee, hot chocolate, iced coffee, tea, and other varieties of hot beverages.
But over time and use, it is normal for natural minerals present in the water of the tank of the coffee maker to leave calcium deposits.
While these are safe and not toxic, they can affect the maximum performance of your Keurig coffee maker if you don’t clean it regularly.
So, if your coffee maker has not been working its best, your beverages taste-off or you cannot recall the time you have cleaned it, then it is time to learn how to clean a Keurig coffee maker. Read Here: 10 Best Keurig Coffee Makers
With so many moving parts, are confused where you should start cleaning? If yes then keep on reading because we have done all the necessary research for you.
In today’s post, we show to you how to clean a Keurig coffee maker using one of the household items that you have on your hand at all times: VINEGAR.
Without further ado, let’s get started.
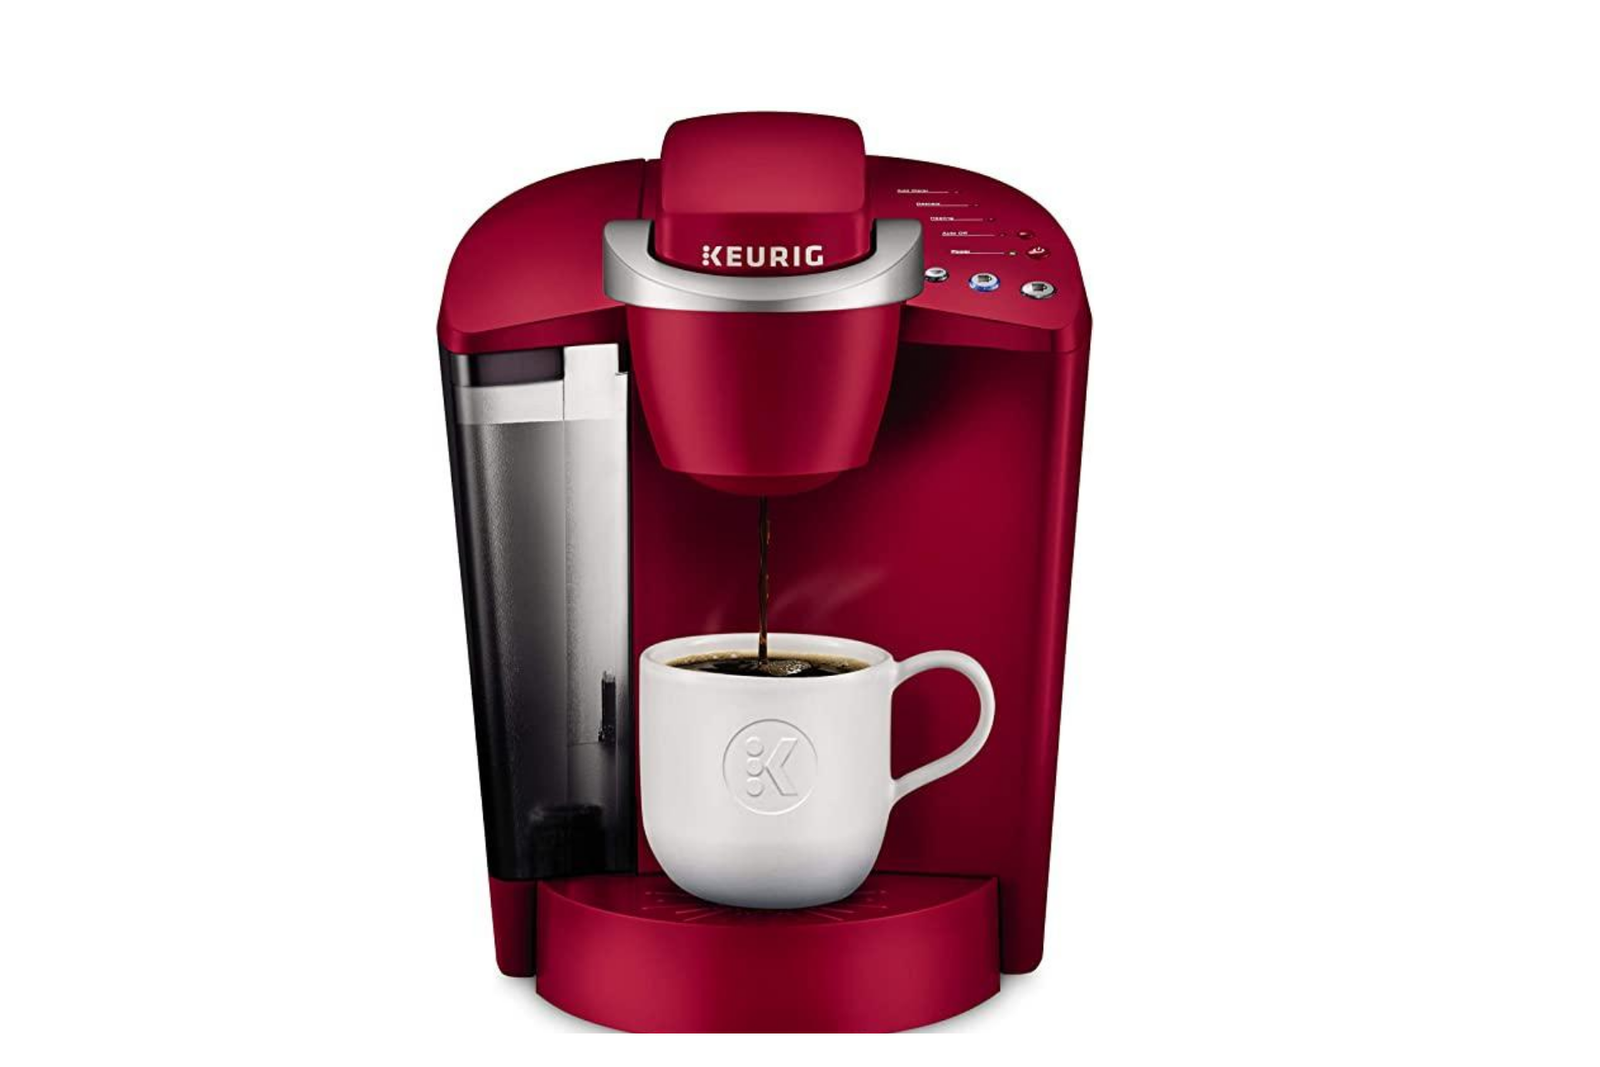
OUR #1 CHOICE
Why Do You Need to Clean Your Keurig Coffee Maker?
Admit it or not, you’re thinking that the insides of your Keurig coffee maker is clean and it doesn’t need cleaning because you’re only pouring clean water into it.
But with every refill magnesium, calcium, as well as other minerals tend to leave trace amounts behind in your coffee maker.
The amount and specific type of every mineral depend on the place where you’re living. Some areas have water that is harder compared to others.
Meaning to say, the water comes with more dissolved minerals within than are found in other areas.
Actually, knowing what kind of water you have can be beneficial with the maintenance of your coffee maker. So, if you have harder water, then expect more residue will be left behind in your coffee maker.
Residues happen as the water heats in your Keurig, a chemical ignition takes place and causes the minerals to leach out the water. Once the water empties, minerals remind behind in coatings on the metal components of your coffee maker.
Sooner or later, if left alone, the coating will build on itself and become into difficult-to-remove chunks known as scale
By neglecting to clean your Keurig coffee maker, you will let mineral deposits develop so big that they can clog your coffee maker and prevent it from working properly.
How to Clean A Keurig Coffee Maker Using Vinegar: A Step-by-Step Guide
Here’s how to clean a Keurig coffee maker with vinegar.
Step 1: Prepare Your Coffee Maker
Turn on your coffee maker and verify that its power is on. Then make sure that there’s no coffee pod in your Keurig. If possible, remove a funnel or a cup holder too. But keep in mind that, it will in descaling the mixture and preventing spills.
One more thing, you need to turn off the auto shut-off feature of your coffee maker before starting the process to prevent it from shutting off in the middle of cleaning.
Step 2: Make A Vinegar Solution
When making a solution, mix regular white vinegar and distilled water, make sure that it is clean. The proportion however should be equal, meaning to say, you need to put 50 percent of distilled water and 50 percent of vinegar.
As a piece of advice, don’t use vinegar without water. Why? It is because it may significantly damage the interiors of your Keurig coffee machine.
Also, it is important that you use distilled water since it will prevent additional hard deposits from building up during the process of cleaning.
On the other hand, if you are planning to use apple cider vinegar, well, it is actually possible. However, it is worth mentioning that this kind of vinegar comes with a strong scent that is difficult to remove.
For sure you don’t want to have a cup of coffee that smells or tastes like apple cider vinegar.
Step 3: Pour the Vinegar Solution into the Reservoir
After making the solution the next thing you will need to do is pour it to the reservoir. Keep on pouring until you reach the maximum filling line.
After this stage, you are not required to add a K-cup, it is not necessary because your Keurig coffee maker will directly brew from the reservoir. You’ll notice the water light turn on stating that your coffee maker is all set to brew.
Step 4: Set Up A Ceramic Mug
Place a ceramic mug on a tray beneath the sprout. The mug should be able to hold at least 10 ounces or 300 milliliters of liquid. This will prevent possible overflows and spills. Then choose the most extensive brew cycle and then proceed.
Once the brewing process is done and the ceramic mug is full, simply toss the liquid, but you need to be careful because it will be hot. The water, on the other hand, will be full of scales after the cleaning solution gets rid of it from the insides of your Keurig coffee maker.
Step 5: Repeat the Process as Needed
You will need to repeat the brew a couple of times until the reservoir is empty. The majority of Keurig coffee makers will inform you when there’s no sufficient water and you need to refill the water reservoir.
If you’re using a K130 brewer of K10 Mini Plus, you need to turn it off once the brewing process begins.
At this point, you may choose to add more of the vinegar solution or allow your coffee maker to sit for a couple of hours before doing a final drain as well as rinse.
By doing this you will make sure that the vinegar gets rid of all the limescale in your machine.
Step 6: Remove the Remaining Solution
Once the process is done, simply toss the remaining cleaning solution in the sink and then rinse the entire system correctly. It is important that you remove all the remaining vinegar before you proceed to the final steps.
Read More:
- Best Lipton Iced Teas
- Best Decaf Coffee: All You Need to Know About Decaf Coffee
- 10 Best Low Acid Coffee Brands Review
- Ninja Hot and Cold Brewed System Review
- Best Brazilian Coffee
Step 7: Fill the Water Reservoir with Fresh Water
While there’s no vinegar solution in the water reservoir, it is worth noting that there are still leftovers inside the Keurig coffee machine. To remove everything, you need to use clear and clean water.
If you don’t want your coffee to tastes and smells like vinegar don’t forget this crucial step.
Run a final cycle and use the ceramic mug to catch the water. As a matter of fact, this will help in dispelling that vinegar odor from the coffee maker.
If you’re not certain if the coffee maker is free of vinegar, you can add a small amount of baking soda to the coffee mug you’re using for the draining.
However, if there’s a fizzy reaction, you will need to perform another water brew.
Cleaning the Surface or Outside of Your Keurig Coffee Maker
After cleaning its insides, it is now time to clean the surface of your Keurig coffee maker. By the way, it is up to you whether you want to clean the surface first before cleaning the insides or vice versa.
Nevertheless, read on to learn how to clean a Keurig coffee maker on the surface.

1) Unplug Your Coffee Maker
When cleaning the surface, you should start by unplugging it from the power supply. For sure, you do not want to risk damaging your machine while working using water.
2) Remove All the Removable Parts
Depending on the model of Keurig coffee maker you are using, you should be able to take off the funnel, K-cup holder, drip tray and cover, lid, and cold-water reservoir.
You need to be extra careful when removing the funnel as well as K-cup holder since there is a nearby needle. To do this without hurting yourself, simply grip the holder from both sides and then wiggle it gently until it comes free.
3) Wash the Parts You Remove
Place all the removable parts you removed into the sink with soapy and warm water. In fact, one teaspoon of dishwashing liquid is enough. Allow them to sit and soak while completing the rest of your surface clean.
However, if you have not cleaned your coffee maker in a while, you can also scrub the parts using a soft and clean cloth or sponge.
If the reservoir has standing water, it is best that you empty it before putting it in the sink. As a matter of fact, you can take this chance to remove any used pod sitting around.
4) Dry the Parts Thoroughly
Once you have finished soaking them, make sure to rinse off every part using water and let them dry on a clean towel. But if you’re running out of time, you can dry every piece with a lint-free towel.
However, it’s still best to dry air the lid and reservoir to prevent lint from sticking to the surfaces.
5) Clean the Needle
At this stage, you should see the needle that perforations your K-cups and enables the flow of liquid. You need to get a big paper clip and put on the pressure until the single end freely comes.
Push this end into the needle holes slowly. Then move the clip around to loosen grime and pull it out slowly.
6) Wipe Down the Outside
Grab a piece of a soft cloth and then dip it into the vinegar solution. Squeeze the extra liquid until the cloth is damp. Then brush it through the exterior casing of your Keurig coffee maker.
Firmly scrub against any areas that are white since this will indicate hard water deposits.
How Often Should You Clean Your Keurig Coffee Maker Using Vinegar
Now that you know how to clean your Keurig coffee maker using vinegar, are you wondering how often you should do this? Based on our research, cleaning your coffee maker using vinegar should be done every three to six months.
If you clean your machine on this schedule, you will be able to prevent the buildup of bacteria as well as hard water deposits. In fact, this will make your Keurig coffee maker last longer. Not only that, but it will also make your coffee taste even better.
If possible, set an alarm on your mobile phone or create a note on your calendar so that you will be notified when another cleaning is needed. For the exterior, you will need to clean it at least once a week or more often especially if things become dire.
Additional Tips for Maintaining a Keurig Coffee Maker
If you want to use your machine on its maximum potential, it is not enough that you know how to clean a Keurig coffee maker because knowing how to maintain it is important too.
Listed below are some of the tips that can help you when it comes to maintaining your coffee maker.
- When you get your Keurig coffee maker, you need to read the instruction manual thoroughly and carefully.
- When you’re done brewing, make sure to remove the K-cup and then throw it away. Using a damp towel, wipe up spilled coffee grounds. Also, emptying the reservoir periodically and using a clean cup to refill it help in keeping your coffee maker smooth.
- If you splash something on the base of your coffee maker, you should immediately wipe it with a damp towel.
Performing daily maintenance and wiping spills may make cleaning the machine’s surface much easier.
Read More:
- Best Lipton Iced Teas
- Best Decaf Coffee: All You Need to Know About Decaf Coffee
- 10 Best Low Acid Coffee Brands Review
- Ninja Hot and Cold Brewed System Review
- Best Brazilian Coffee
Conclusion
Cleaning a Keurig coffee maker is not as hard as you think. By simply following the steps on how to clean a Keurig coffee maker you can make sure that your machine is functioning on its maximum potential.
What’s more, you can guarantee that you will have a cup of coffee that tastes and smells good and fresh. Thank you for reading, we hope that you have learned a lot from today’s post and share it with your friends and family.


